The Most Common Residential Roofing Material Explained
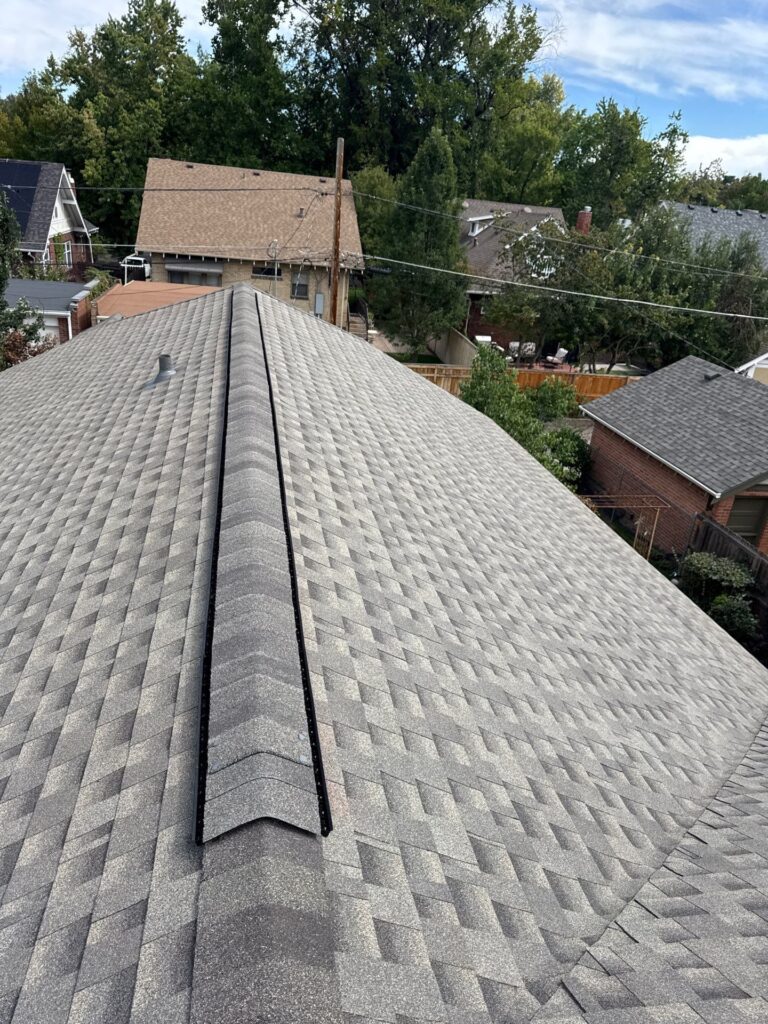
When homeowners across the United States think about a new roof, one material consistently leads the way: asphalt shingles. Their affordability, versatility, and proven durability have made them the dominant choice for decades. Understanding why asphalt shingles are so popular, along with their different types and maintenance needs, helps homeowners make informed decisions for long-lasting protection.
Why Asphalt Shingles Dominate Residential Roofing
Asphalt shingles are used on the majority of American homes because they balance cost and performance better than most alternatives. They are lightweight, simple to install, and available in a wide range of styles and colors that complement nearly any architectural design. Homeowners choose them not only for their practicality but also for the value they add to a property.
Main Types of Asphalt Shingles
3-Tab Asphalt Shingles
The most basic and affordable option, 3-tab shingles provide a uniform, flat look. While budget-friendly, they typically have a shorter lifespan compared to upgraded options.
- Lifespan: 15–20 years
- Best for: Budget-conscious homeowners and rental properties
Architectural Asphalt Shingles
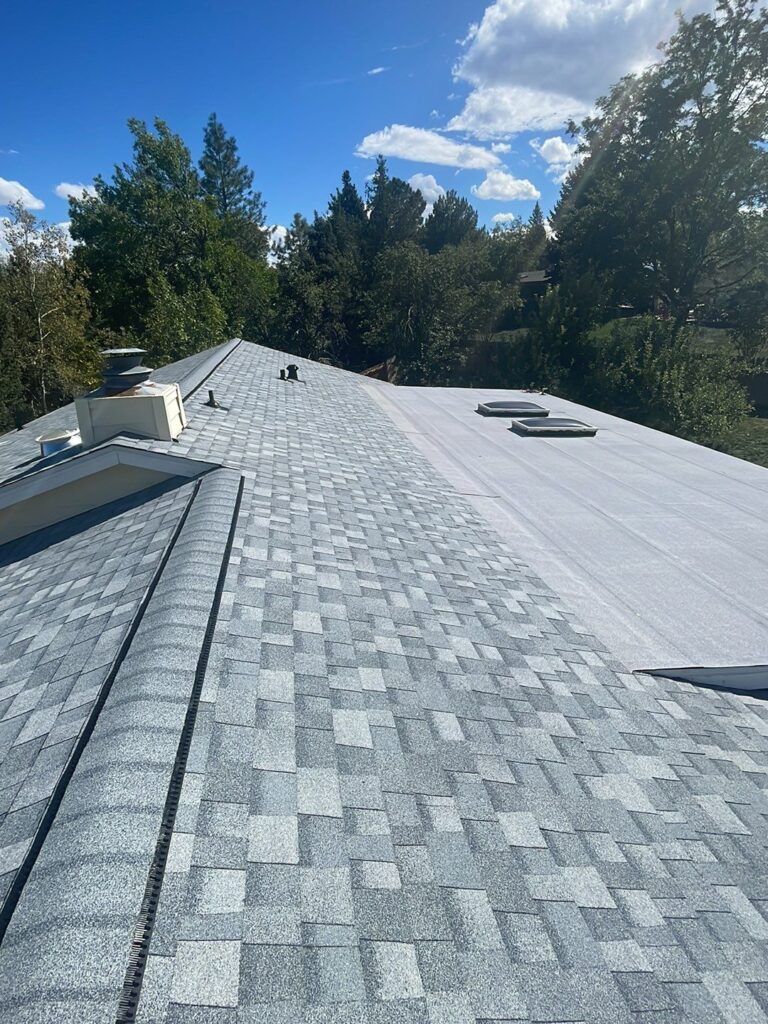
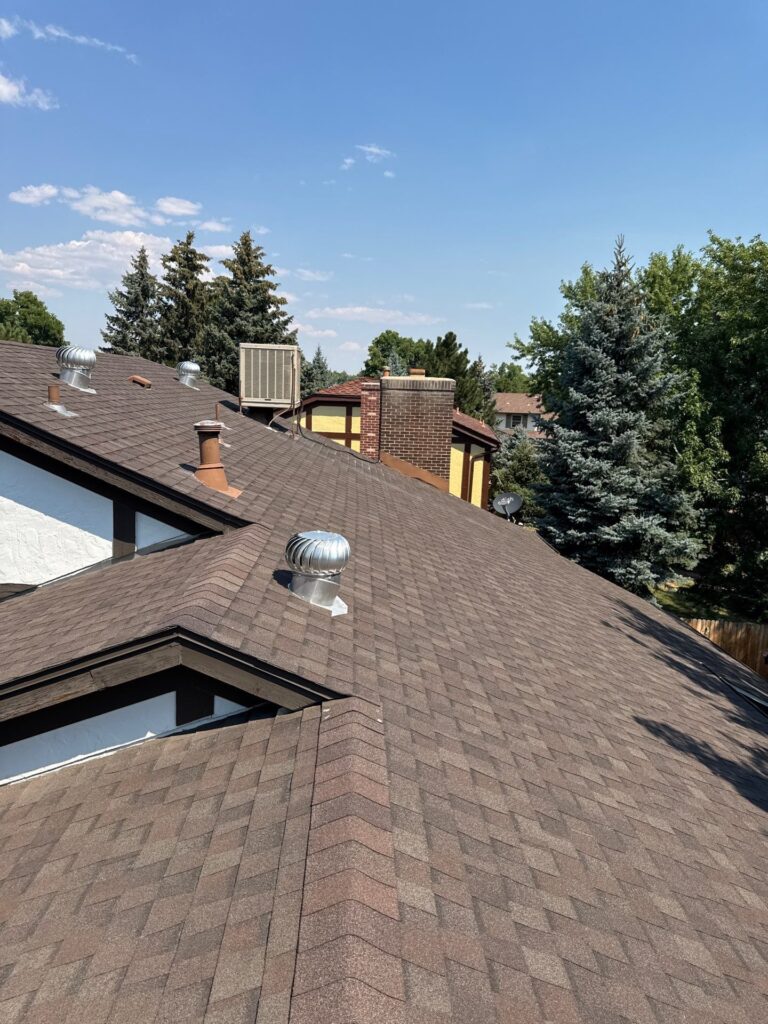
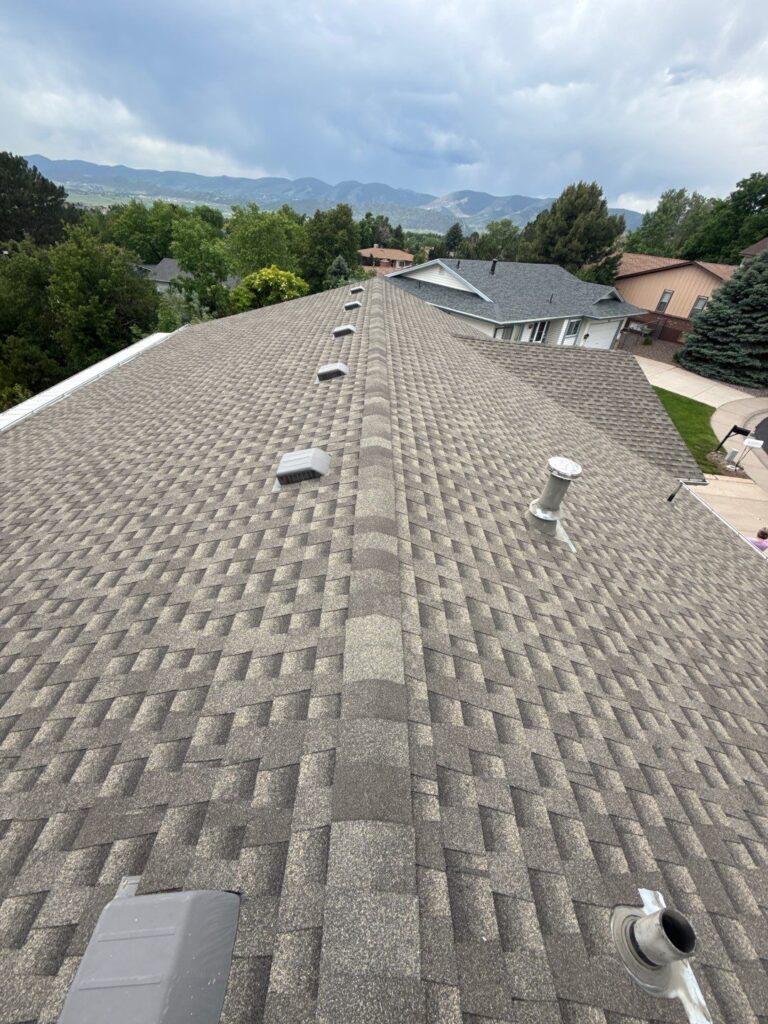
These are the most popular choice today. Architectural shingles are thicker, with a layered appearance that mimics wood shakes or slate. They are more durable and resistant to harsh weather, making them ideal for long-term value.
- Lifespan: 22–25 years with proper care
- Best for: Homeowners seeking durability and aesthetics
Luxury Asphalt Shingles
Luxury shingles replicate high-end materials like slate and cedar shakes at a fraction of the cost. Heavier and more robust, they provide outstanding performance and premium curb appeal.
- Lifespan: 30 years or more
- Best for: High-end homes and homeowners prioritizing style and durability
Key Components of an Asphalt Shingle Roof
A strong roof system is more than just shingles. Several components work together to ensure full protection:
- Underlayment: Creates a moisture barrier beneath shingles.
- Starter Strips: Secure the first row of shingles and prevent leaks.
- Hip and Ridge Shingles: Reinforce vulnerable ridge lines while enhancing appearance.
- Flashing and Vents: Control moisture and improve ventilation for roof longevity.
Lifespan and Factors That Influence Durability
While asphalt shingles are designed to last for decades, their actual lifespan depends on several factors:
- Installation quality: Poor workmanship can shorten roof life dramatically.
- Materials used: Higher-grade shingles withstand weather better.
- Climate conditions: Sun exposure, snow, and storms all impact wear.
- Ensure Ventilation: Maintain adequate airflow in the attic to reduce moisture accumulation and protect against heat-related damage.
With good installation and maintenance, architectural asphalt shingles usually last 22 to 25 years, while luxury options can exceed three decades.
Warranties on Asphalt Shingle Roofs
Most manufacturers offer warranties of 25–30 years for asphalt shingles. Some enhanced warranties cover the entire roofing system, including underlayment and accessories, but these often require certified professional installation to remain valid. Knowing the details of your warranty is crucial for long-term peace of mind.
Maintenance Tips to Extend Roof Life
Caring for an asphalt shingle roof ensures it performs at its best:
- Schedule inspections: Twice yearly, especially after severe weather.
- Debris Removal: Consistently clear away leaves, branches, and dirt from the roof and gutters to ensure smooth water flow and prevent blockages.
- Repair promptly: Fix missing or damaged shingles before leaks spread.
- Maintain ventilation: Ensure proper attic airflow to prevent heat and moisture damage.
These simple practices significantly extend the life of your roof and protect your investment.
Professional Roofing in Denver, Colorado
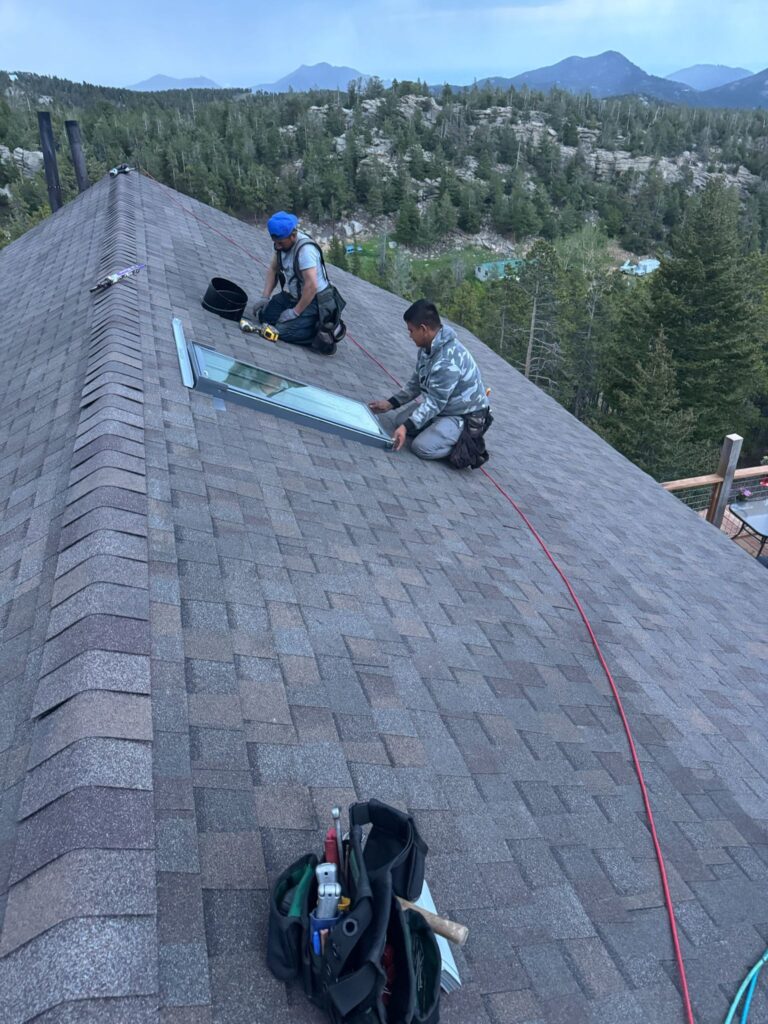
For homeowners looking for trusted expertise, partnering with experienced contractors is essential. Tried and True Roofing, serving Denver, Colorado, provides professional installation and maintenance services tailored to local weather conditions, ensuring asphalt shingles and other materials deliver maximum performance.
Conclusion
Asphalt shingles remain the most common type of residential roofing in the United States because they offer unmatched affordability, wide design options, and solid protection. With three main categories—3-tab, architectural, and luxury—homeowners can choose the level of durability and style that suits their needs. Proper installation, maintenance, and professional support ensure these roofs provide lasting value and peace of mind.
The Most Common Residential Roofing Material Explained Read More »
