Introduction
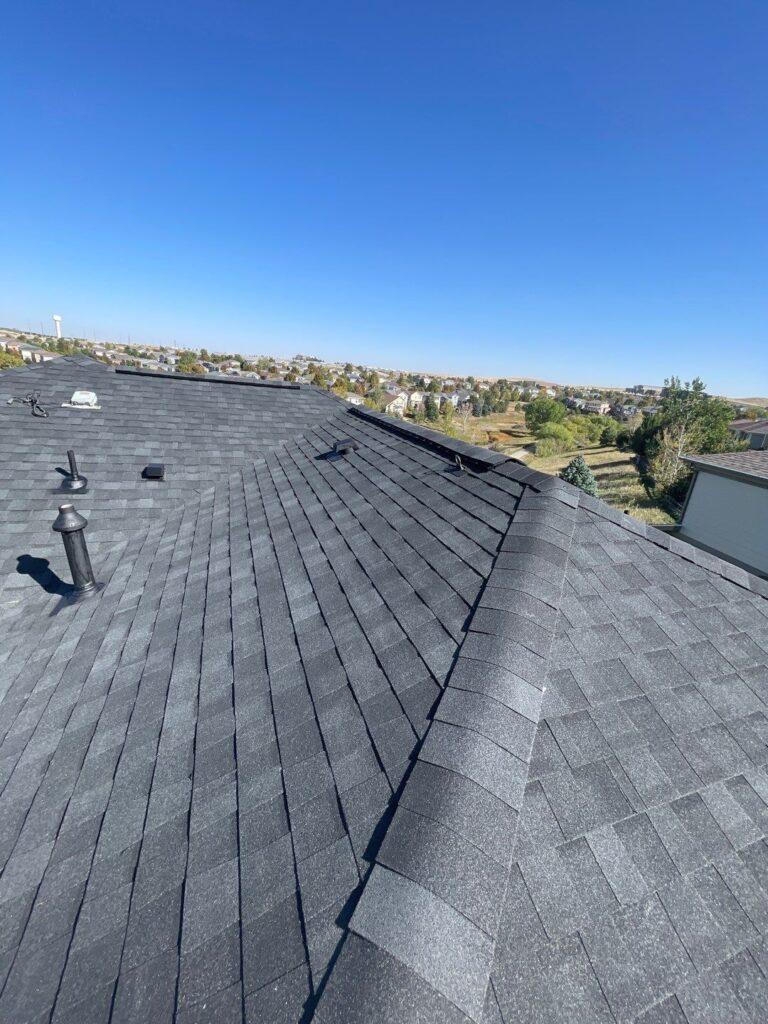
Installing roof shingles is a crucial step in protecting a home or building from harsh weather conditions. Proper preparation and installation ensure a long-lasting and durable roof. This guide covers every essential step, from removing old shingles to securing new ones, using best practices that enhance roof performance and longevity.
1. Preparing the Roof for Shingle Installation
Removing Old Shingles
Before installing new shingles, all old roofing materials must be removed. This process involves:
- Using a roofing shovel or pry bar to lift and discard old shingles.
- Checking for underlying damage on the roof deck.
- Removing nails and debris to ensure a smooth installation surface.
Inspecting and Securing the Roof Deck
The roof deck serves as the foundation for shingles. It must be:
- Free from rot or water damage.
- Properly fastened to the roof frame to prevent movement.
- Reinforced with new plywood sheets if needed.
Cleaning and Preparing the Surface
- Sweep away dust, nails, and debris.
- Ensure the roof deck is completely dry before proceeding.
2. Essential Underlayment for Shingle Longevity
Installing a Drip Edge
A drip edge is a metal strip installed along the eaves and rakes to direct water away. It should be:
- Nailed every 8-10 inches for secure placement.
- Installed before underlayment along eaves and after underlayment along rakes.
Applying Ice and Water Shield
In colder climates, an ice and water shield prevents leaks from ice dams. To install:
- Roll out the shield starting at the eaves.
- Overlap sheets by at least 6 inches.
- Firmly press it onto the roof deck for a watertight seal.
Laying Roofing Felt (Underlayment)
Roofing felt provides an additional moisture barrier. Key steps include:
- Overlapping each row by at least 2 inches.
- Stapling or nailing it securely in place.
- Ensuring full coverage before shingle installation.
3. Installing Roof Shingles Properly
Starting with a Starter Strip
A starter strip of shingles helps prevent wind uplift. It should be:
- Placed along the roof edge.
- Nailed down with 4-6 nails per strip.
- Positioned with a slight overhang over the drip edge.
Laying the First Row of Shingles
The first full row of shingles must be carefully aligned. Best practices include:
- Aligning shingles with the starter strip.
- Nailing just above the adhesive strip for a secure hold.
- Using a staggered pattern to avoid water penetration.
Nailing Techniques for Maximum Hold
- Use roofing nails that are at least 1 ¼ inches long.
- Drive nails straight to prevent shingle movement.
- Place nails in designated areas to avoid tearing.
Overlapping for Water Resistance
Each shingle row should slightly overlap the one below it to direct water away. Recommended overlap:
- Standard shingles: ½ inch to 1 inch over the previous row.
- Architectural shingles: Follow manufacturer guidelines for precise overlap.
4. Installing Ridge Caps and Roof Ventilation
Placing Ridge Cap Shingles
Ridge caps provide extra protection at the peak of the roof.
- Cut shingles into individual caps if pre-cut caps are unavailable.
- Overlap each cap slightly.
- Nail securely with two nails per cap.
Installing Roof Vents
Proper ventilation prevents heat and moisture buildup. Key points:
- Cut ventilation holes in the roof deck before installing shingles.
- Place ridge vents along the roof peak for optimal airflow.
- Secure vents with nails and seal around edges with roofing cement.
5. Final Inspection and Maintenance Tips
Inspecting the Finished Roof
- Check for misaligned shingles or exposed nails.
- Ensure all edges are properly sealed.
- Look for any loose shingles and re-nail them if necessary.
Routine Roof Maintenance
To extend the lifespan of shingles:
- Clean gutters regularly to prevent water buildup.
- Trim overhanging tree branches to reduce debris.
- Schedule annual inspections to catch minor issues early.
Conclusion
Properly installing roof shingles enhances the durability and weather resistance of a roof. By following these best practices, homeowners and contractors can ensure a long-lasting and efficient roofing system. If you’re looking for expert assistance, Tried and True Roofing provides professional roofing services in Denver, Colorado, ensuring top-quality workmanship for your roofing needs.
